|
|
DRAW ARROW |
Here you can find the tools to insert, modify, move and delete arrows in 2D view.
This icon allows you to insert a 2D arrow in the design. The arrow length and direction is defined on the drawing with two mouse clicks. The first click will be the origin of the line and the second click its end.
When you select this option, the following window appears:

- Preview: On the left, you can see the arrow preview.
- Type of arrow: On the right, you can select several options:
- Start arrow: Click to insert the arrow at the origin of the line.
- End arrow: Select this option to insert the arrow at the end of the line.
- Both: Click to insert the arrow at the origin and at the end of the line.
- None: Click here to insert a line without any arrows.

- Thickness: Enter the arrow thickness.
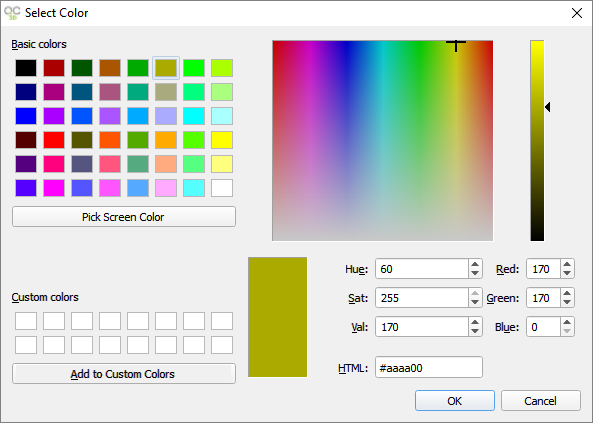
- Color: Click to select the color.

After selecting the arrow thickness and color, click on the green check mark to insert it. The program will display the message "First point ...". Click on the screen to define the starting point of the arrow and hold the left button of the mouse while moving it to the end point. Release the button to create the arrow.
This option allows you to modify arrows already inserted in your design. When clicking on this icon, Quick3DCloset® shows the message "Select object or press ESC to cancel...". After selecting the arrow, a dialog box appears allowing you to change line thickness and color, arrow thickness and color and arrow position on the line.
This tool allows changing the arrow position in the design. Once you click on this icon, the message "Select object or press ESC to cancel..." appears. After clicking on the arrow, it will follow mouse movement. Click to place it in a new position.
This command allows you to delete an arrow. When clicking on this button, Quick3DCloset® shows the message "Select object or press ESC to cancel...". After selecting the arrow, the following message appears asking you to validate your choice.


