|
|
EDIT IMAGE |
This option allows image editing, adding a logo or an image or adding a text as a water mark. After clicking this button the following window will appear:
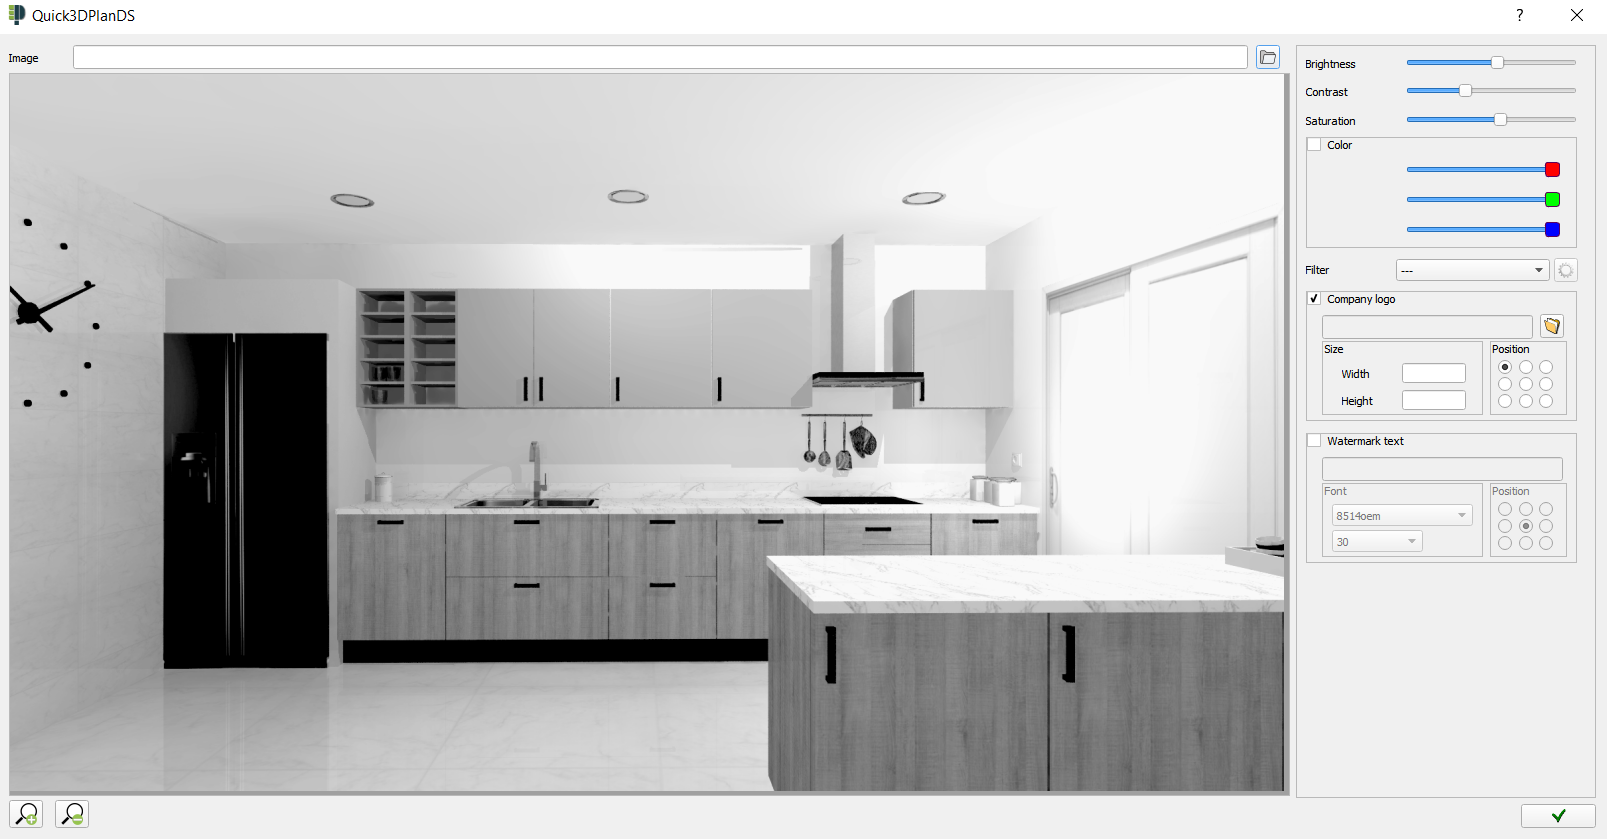
Options available here are:
- Image: After clicking "Edit image" a new window will open up with the current image in screen. If you want to edit a previously saved image, click this button (
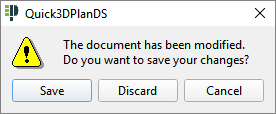
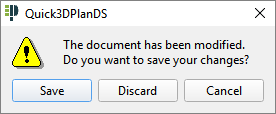
 ) and find the image in the hard drive. Quick3DPlan® DS will show the following window asking if you want to save the changes in the editor before open the new one, discard for not save it, or cancel the action in order to keep editing the image:
- Brightness, Contrast, Saturation: Values of each of this parameters can be modified here folding the right side bars.
- Colour: If this section is activated, values of every RGB colour (red, green and blue) can be modified here individually.
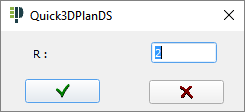
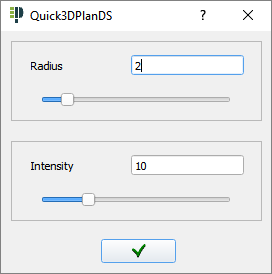
- Filter: This drop down menu is made for selecting an automatic filter to apply to the image. Available options are Blur, White/Black, Sepia and Oil paint. If Blur or Oil Paint are selected as filters, this command (
 ) will let you adjust parameters such as intensity or radius:
|
Blur
|
Oil paint
|
- Logo: If this section is activated, logo will be able to add in different formats (JPG, BMP or PNG), with just a click in this button (
 ) and selecting the logo. Finally, size and position of the image can be modified here.
 - Water mark: Text can be added here as a water mark by writing the wanted text, font type as well as its size and position.
Once all changes been made, click the accept button ( ), and the following window will appear showing options "Save" (in order to save a copy in the hard drive), "Discard" (close the editing window without saving the image) or "Cancel" for not to close the editing window:
