INSERT THE CLOSET INTO THE DESIGN
Once the closet is finished, click on the “Accept” button in the bottom right corner of the window. It is not necessary to proceed to the last stage “Prices“, you can insert the closet at any time by clicking on this button.

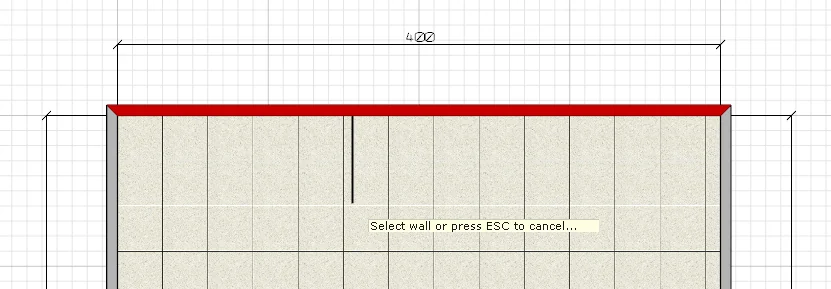
Next, the message “Select a wall or press ESC to cancel...” appears next to the cursor, prompting you to choose the wall of the room where you want to place the wardrobe. As you move the mouse, the nearest walls will be highlighted in red. In this example, select the upper wall of the layout:
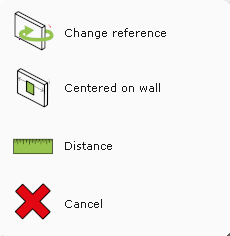
Once the wall has been selected, the following auxiliary toolbar appears, offering the following options:
|
|
|