|
|
ADD WINDOW |
Here are the tools to insert, modify and delete the windows.
Adds a window on a wall. After selecting this option, the program will ask to select a wall. If you use "2D", the wall will be highlighted in red. After selecting the wall, the following dialog appears:

|
|
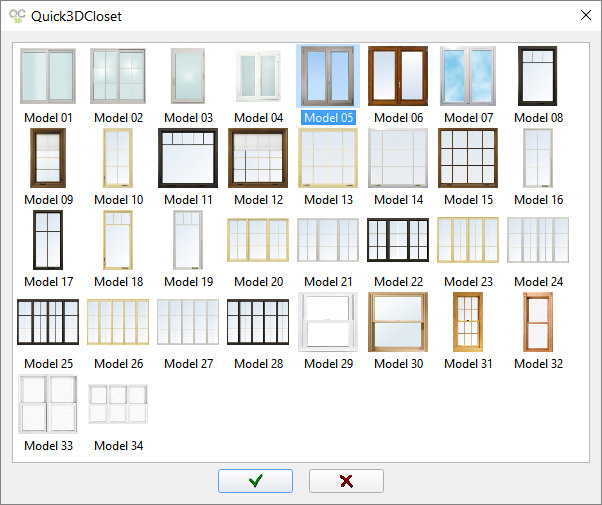
TIP: Click on the window image to see all the available window models in "thumbnail" images. Once you have found it, click on the window that you want to insert in the drawing and then on the check mark to accept the selection. |
|
|
|
You can indicate the window model and its width, height and elevation. After clicking  the following message appears: "Type a length or Push ESC to cancel...".
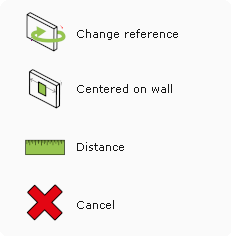
The window insertion is very similar to the door one. You can place it by clicking with the mouse or entering the distance from the reference corner with the keyboard. In the upper left corner of the screen a toolbar appears with the following options:
|
|
The toolbar have the following options:
|
If the option "Centered on wall" is selected, click the "Accept" button  and the program will place the window directly in the center of the wall without showing the tools explained before.
|
|
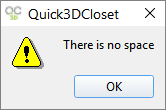
NOTE: When trying to add a window that does not fit on the selected wall, the message "There is no space" appears. Click OK and change the window dimensions or cancel the window insertion and select a different wall. |
If you don't want to insert the window, instead of setting its position, press "ESC".
With this button you can modify the dimensions and model of an inserted window. When the window to be modified is selected, Quick3DCloset® will display a new dialog where you can enter the new dimensions and/or the new window model. In case of a width modification, the new length will be applied to the right side of the window. (NOTE: It is also possible to change a window by double clicking on it.)
Use this button to move the position of a window already inserted in the wall. After the window is selected, you can change the door position along the wall.
This button erases the windows, one at a time. Just click on the window to be erased. Once you have selected the window that you want to erase, the following message is shown:

Click on "Yes" to erase the window.


