How to make a "built-in closet".
In order to "simulate" a "built-in closet" using the Quick3DCloset® "Closet Module" follow these steps: (NOTE: This is a tutorial, the measures are random and you will have to adjust them to your needs):
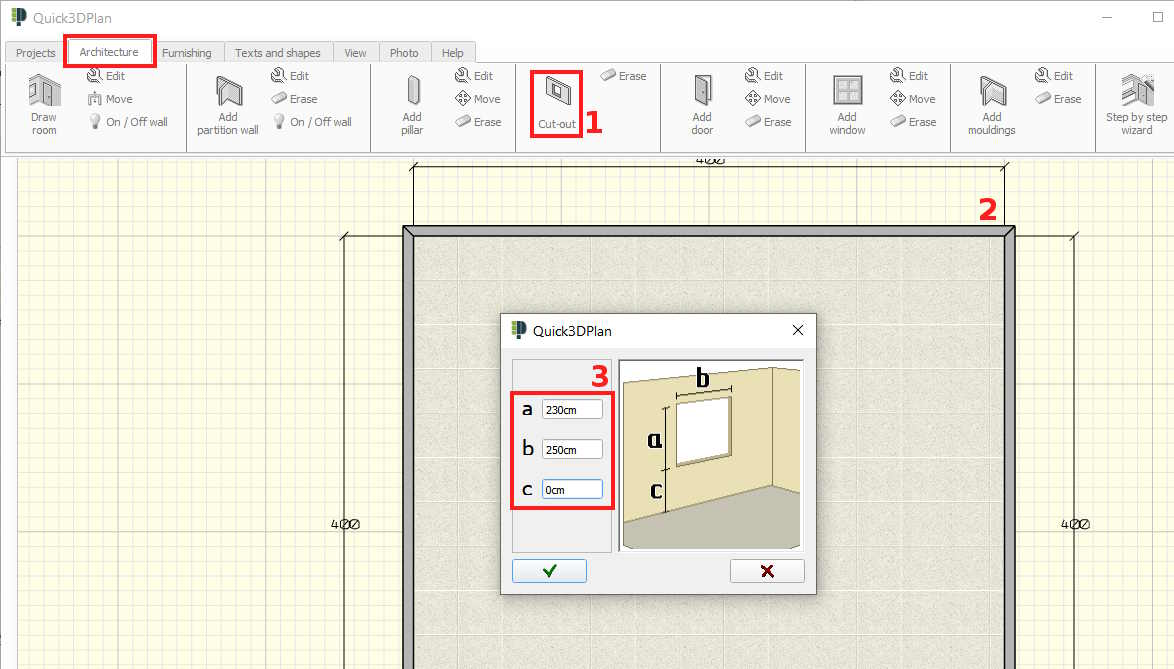
- Once the architecture has been created, make a wall cut-out using the built-in closet measures. Go to "Architecture", select the "Cut Out" option [1], select the wall [2] and introduce the measures [3]:
- Accept and place the cut-out where you want the built-in closet to be placed [4]:

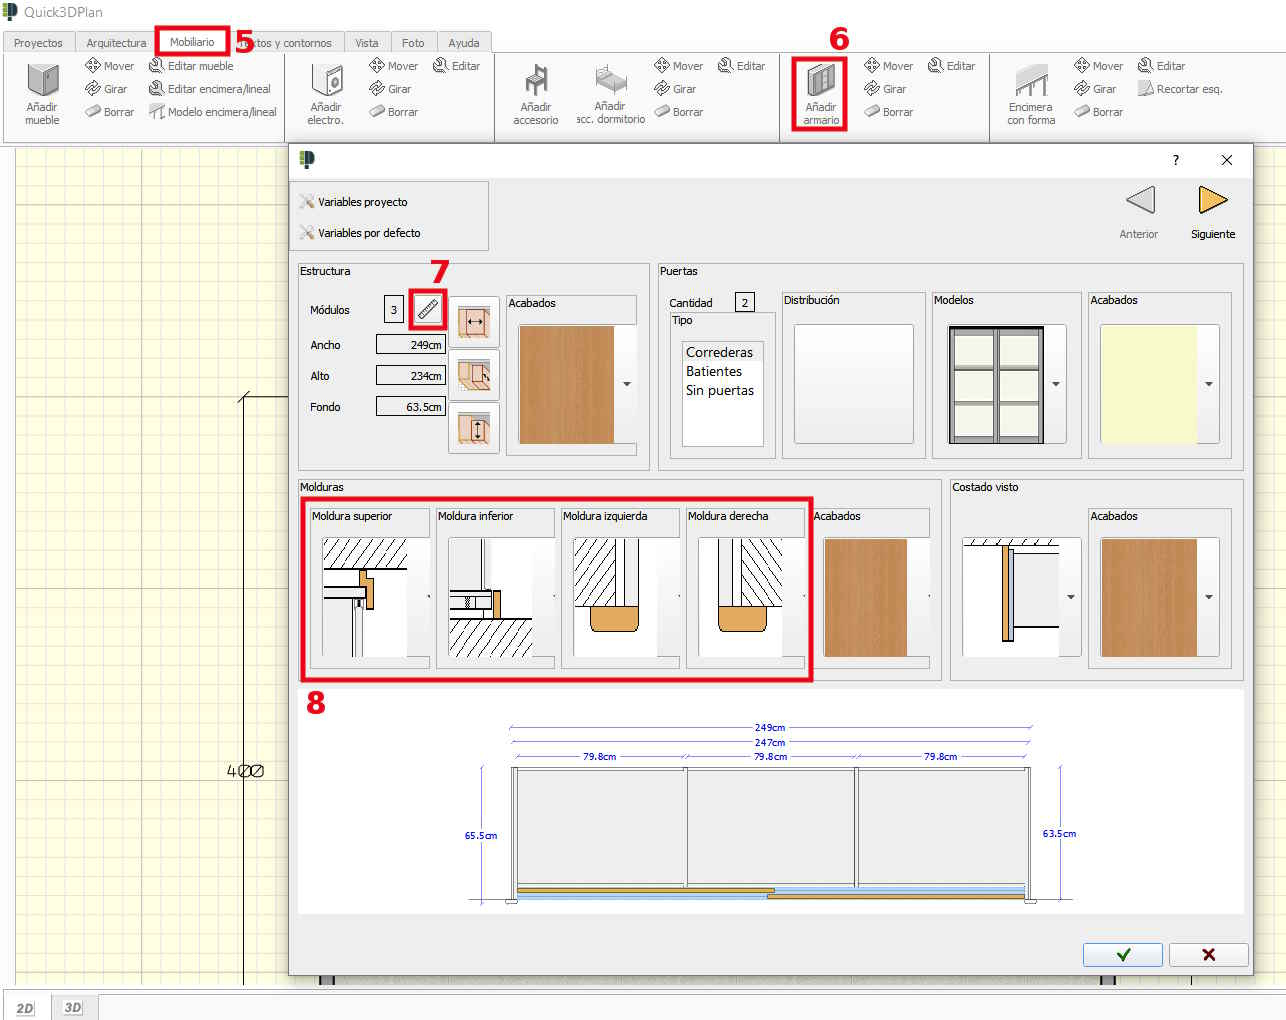
- Next, click on the "Furnishing" [5] and click on "Add closet" [6] to show the window below. Click on the command to "edit the closet measures" [7] and adjust them to the size of your gap [8].
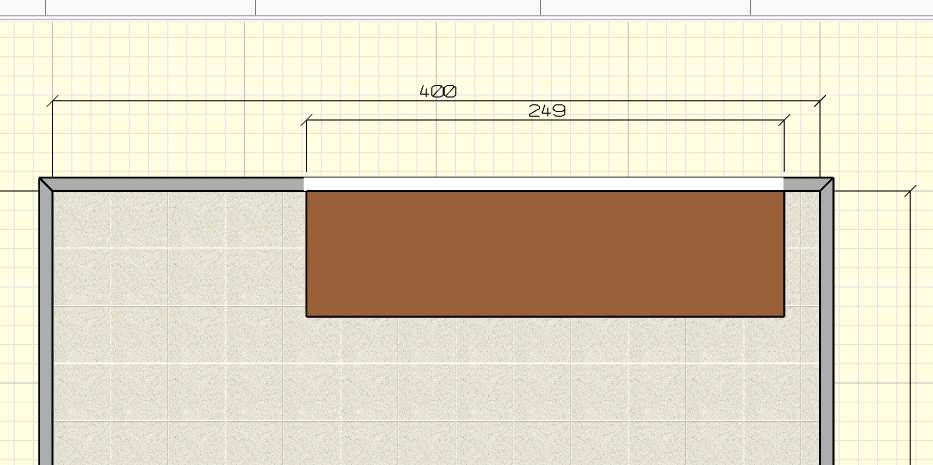
- Click on the "Accept" button and place the closet using the mouse:
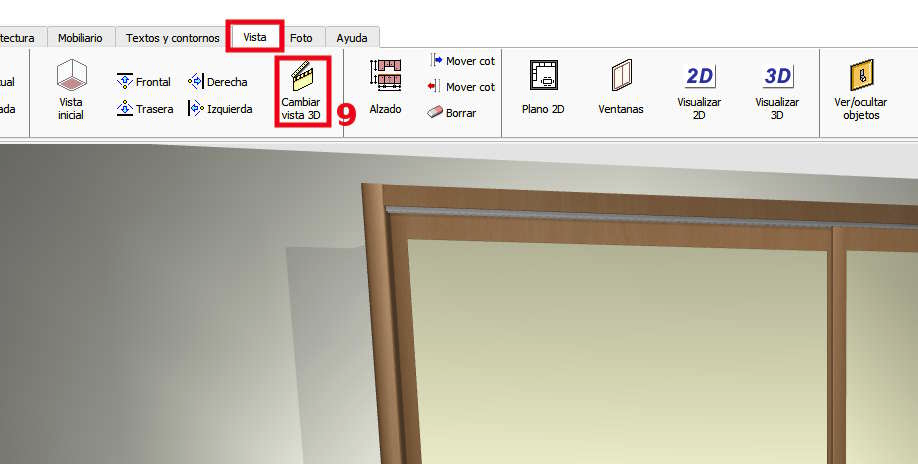
- Create a 3D view of the closet to move it easier. Go to "View -> Change 3D view" [9] and create a perspective:
- Finally, move the closet to adjust it to the gap. Go to the "Furnishing" [10] section and select the "Move closet" [11] option. Select the closet, and the following window will appear [12]. Enter the quantity you want the closet to be moved and click on the arrows [13] to fit in the gap previously created:

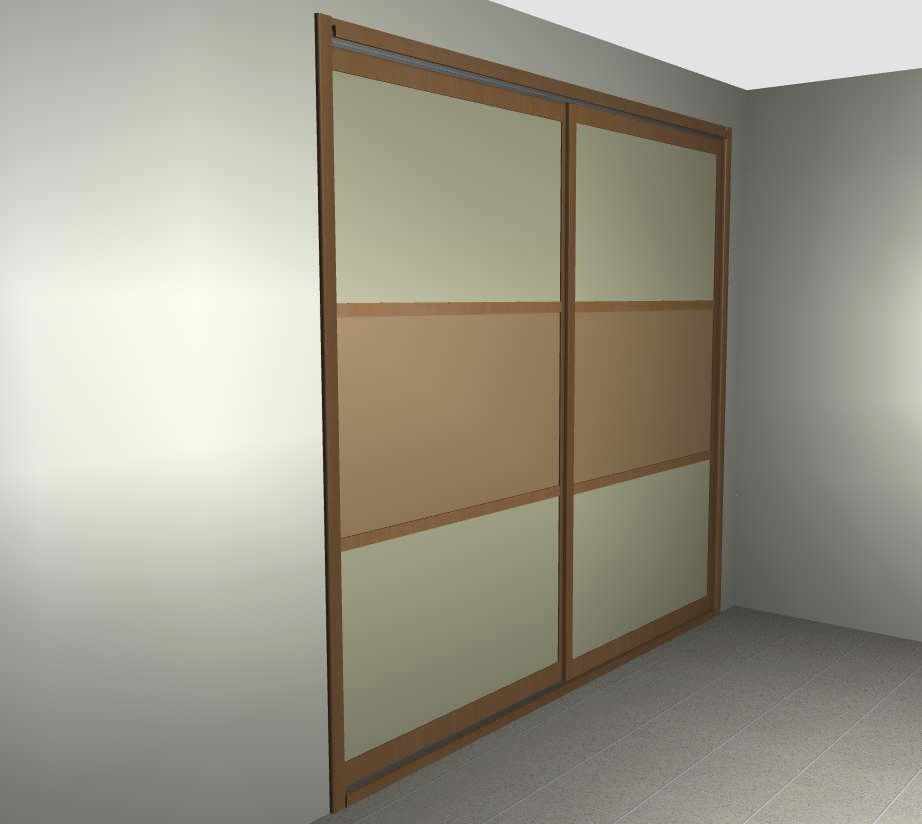
- Here you can see how the closet will look once placed in the gap:
DOWNLOAD EXAMPLE PROJECT: Download example of "Built-in Closet"
