
At the bottom of the window you will see two options for inserting accessories: Automatic and Manual.
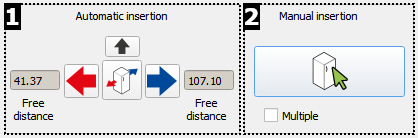
From left to right the options are:
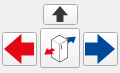
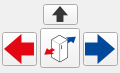 Automatic insertion: Use the arrows to place an accessory on the left, right or top of the last inserted item. If there is no inserted unit yet, this option will not be active. The first element you insert needs to be inserted Manually. Then, it will serve as the default reference unit for the next one, which can be inserted Automatically. The reference unit can be changed any time with the "Change reference" icon.
The top arrow is very useful to place kitchenware just above the cabinet without necessarily knowing the height of the cabinet.
Free Distance: After inserting the first element in the drawing, the available distance on that wall is automatically updated. It will be updated with each cabinet you place. This information is also available in the "Cabinet insertion" section under the "Free distance" option. Change Reference: As we have seen before, the "Automatic Insertion" function uses the last element inserted as the default reference for placing the next accessory. However, there are times when you need to insert an accessory somewhere else. To do so, you can use the "Change Reference" option. This button allows you to select any of the inserted items as your reference. This is handy when you want to place an object in a different area of the room where there is already at least one element placed (your new reference). The Change Reference button allows you to select which item is your new reference. Once you do this, you can continue inserting elements in "Automatic mode".
 Manual Insertion: This option allows you to insert an accessory anywhere in the room. Two dimensions are shown with the available distances on both sides of the accessory.
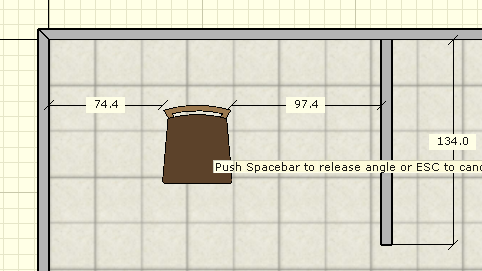
Next to the cursor the message "Push spacebar to release angle or "ESC" to cancel" appears. Pressing the spacebar on the keyboard, the accessory will turn automatically when it is close to a wall, cabinet, appliance or another accessory. Push the spacebar to fix the angle so that it will not turn any more.
To insert the accessory, press the left mouse button in the desired position. To cancel the insertion press the "ESC" key.
Multiple: To be used only with manual insertion, it allows you to make multiple insertions of the same accessory without going back to the insertion window.