WORKING AREA: DISTRIBUTION
In this stage you will find the available items to be inserted in the wardrobe.
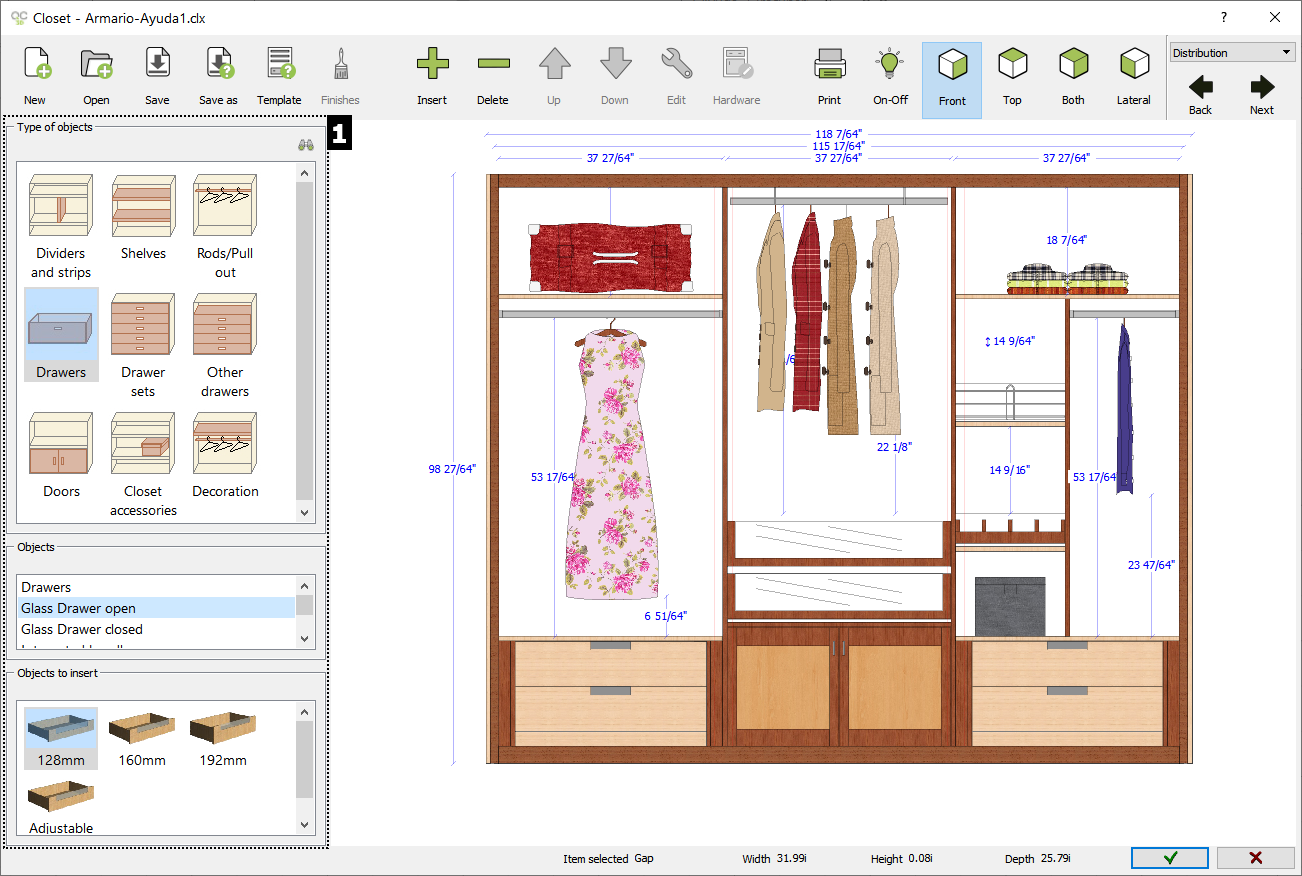
1)OBJETCS
In this stage you will find the available items to be inserted in the wardrobe organized in 3 levels. The available items will depend on the manufacturer catalog (drawers, shelves, accessories, bars, etc.)
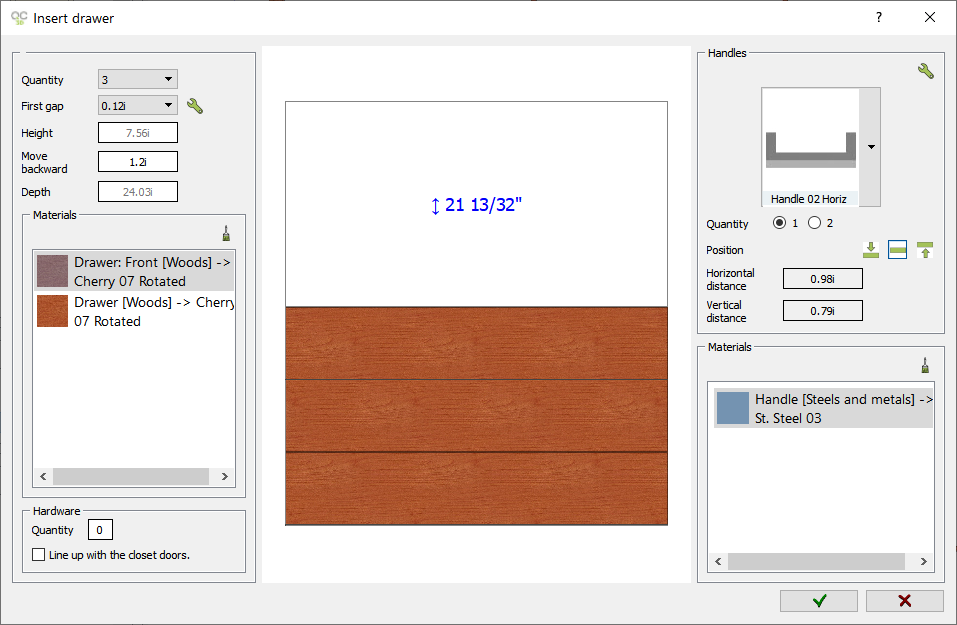
The available options will depend on the item to be inserted. However, all the insertion dialogs will show a "preview" of the distribution. The available options in this insertion window are:
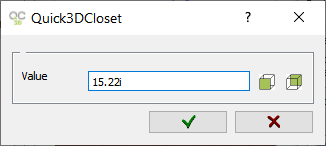
Modify Value: By clicking directly on the measures you can apply a different value to the default one. Depending on the element you are inserting, you can indicate the "distance to back panel", "depth", "move from the front", etc.
|
It will show the following window:
|
|||||
|
|
|
||||
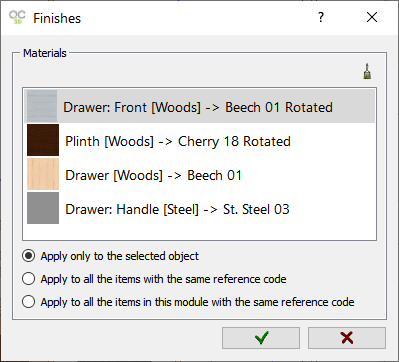
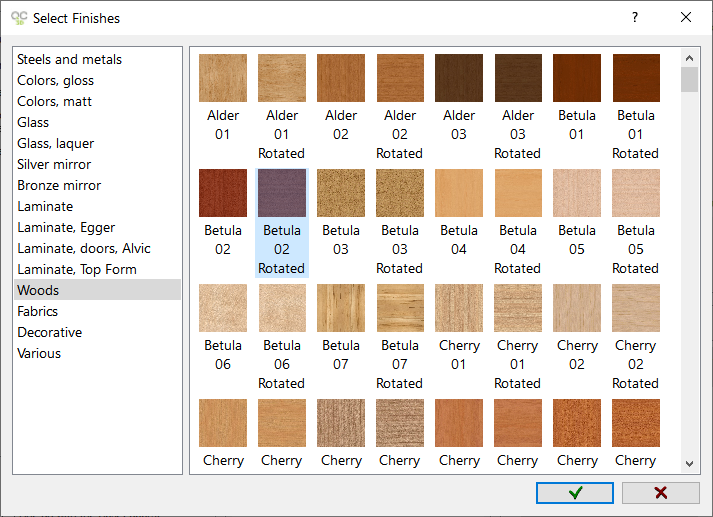
 Finishes: Clicking this button the program will display the following window where we will be able to assign materials to the elements we are inserting.
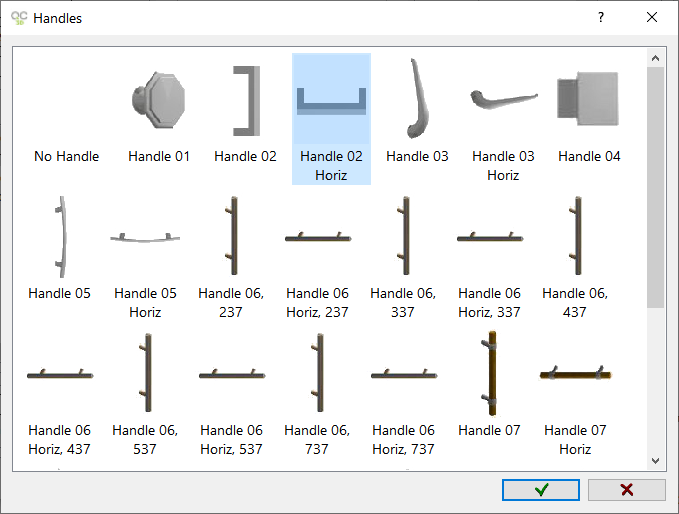
 Handles: Click on this button or the image to select the handle you want. This option is available in "Doors", "Drawers with handle", etc.
|
|
![]() Horizontal positioning: There are 3 buttons in the "Accessories" and "Decoration" insertion window that allow you to place the element in horizontal automatically:
Horizontal positioning: There are 3 buttons in the "Accessories" and "Decoration" insertion window that allow you to place the element in horizontal automatically:
|
|
Click here to place to accessory to the left of the selected space/element. |
|
|
Click here to place to accessory in the middle of the selected space/element. |
|
|
Click here to place to accessory to the right of the selected space/element. |
![]() Vertical positioning: This option is similar to the previous one. It is available in elements such as "Drawer with handle", "Doors", etc.
Vertical positioning: This option is similar to the previous one. It is available in elements such as "Drawer with handle", "Doors", etc.
|
|
Click here to place the accessory in the top part of the selected space/element. |
|
|
Click here to place the accessory in the middle of the selected space/element. |
|
|
Click here to place the accessory in the lower part of the selected space/element. |
Up next you can watch some examples of the available elements in the "Distribution" section (NOTE: it will depend on the catalog you are using).
ICONS MENU
In the top part of the icons menu, the following options of the "Distribution" stage will be enabled:
|
Here you can find the next options:
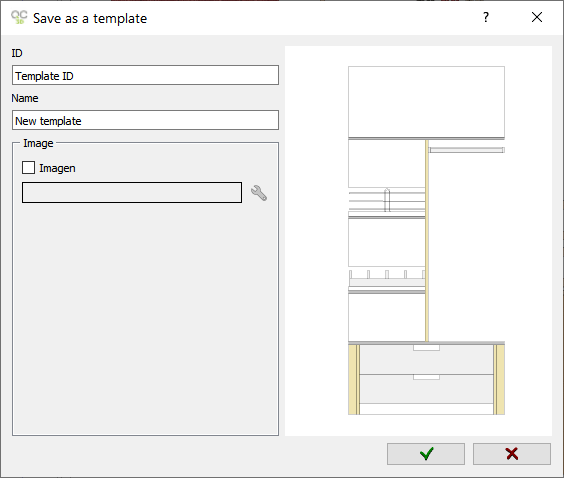
If the file exist the next window will appear:
|
||
|
|
||
|
|
||
|
|
||
|
|
||
|
|
|
|
|
|
|
|
The buttons "Up", "Down", "Insert", "Delete", "Edit" and "Finishes" will be activated only if an item can be inserted, or an item is selected and it can be deleted, edited or moved.
 NOTE: In "Type of objects" you can find the icon below that will show a window (thumbnails) with all the available objects:


