|
|
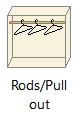
RODS/PULL OUT
|
|
Here you will find Fixed rods, pull down, pull-out and pull-out trouser rack rods, etc.
|
|
Pull-down double.
Lateral shoe rack, left.
Pull out trouser.
|
|
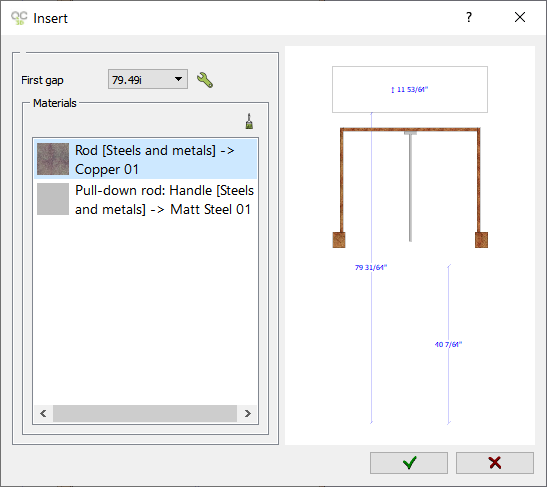
The available options are:
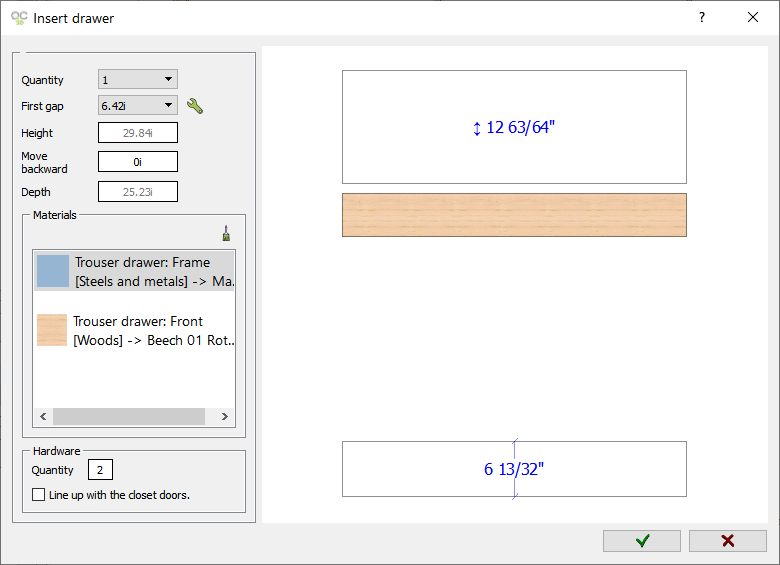
- First gap: It indicates the distance from the base of the space to the top part of the rod. To enter a different height click on Modify button. (
 ) )
- Finishes: Here you can select the material of the rod. (
 ) )
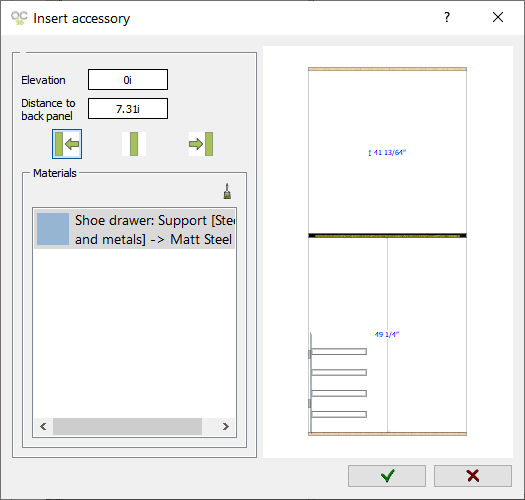
- Elevation: Distance from the base of the space to the lower part of the accessory.
- Distance to back panel: Here you can indicate the distance from the accessories to be inserted to the wardrobe back panel.
- Positions: These three options indicate the horizontal position of the accessory:
|

|
Insert the accessory on the left side of a selected space.
|
|

|
Insert the accessory in the middle of a selected space.
|
|

|
Insert the accessory on the right side of a selected space.
|
- Quantity: The number of elements to be inserted in a selected space.
- Height: In this field you can see the height of the pull out to be inserted. You cannot modify this value.
- Move backward: Here you can indicate the distance to move the pull out from the front of the wardrobe.
- Depth: Click here to change pull out depth. (NOTE: Depth can only be changed when creating a "Closet without doors".)
- Quantity (Hardware): Here you can set the "Quantity" for the drawers' hardware.
- Line up with the closet doors: By selecting this option, the drawers will be aligned with the closet doors.
|
|
(*The available options vary depending on the inserted element.)
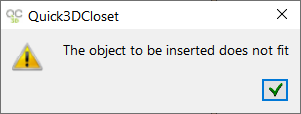
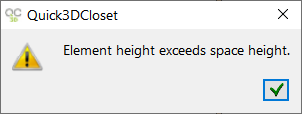
NOTE: If you try to place an element in places where there is not enough space, the following window will appear: