WORKING AREA: STRUCTURE
On this screen you can modify the wardrobe structure: module width, depth and height.

1)MODIFY STRUCTURE
Here you can modify the wardrobe structure: "Modify width", "Decrease depth", "Decrease height", "Cut (vertical)", "Cut (Irregular)" and "Top cabinet".
 Modify width: Click here and then select the module to be applied. The following window will appear:
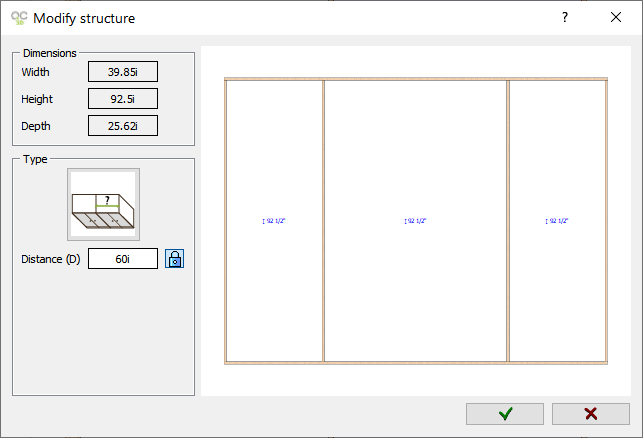
You will find the following options in the "Modify depth" button:
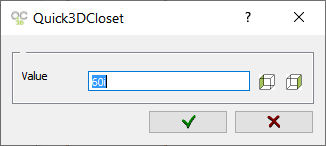
Clicking on the measurement directly allows you to introduce a value for the new module depth. The following window will appear:
|

 The lock will be locked after modifying the depth value. To reset it, just click on the lock.
 Decrease depth: Click here and then select the module to be applied. The following window will appear:
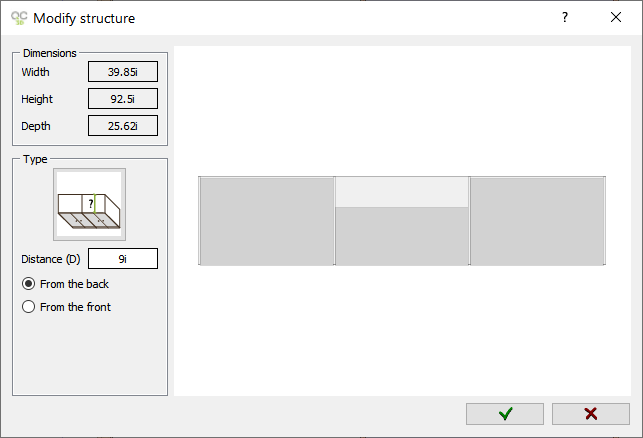
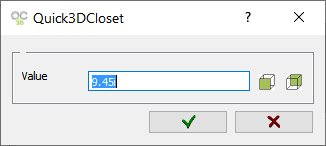
Introduce the measure to decrease the module depth forward or backward of a selected module:
|
 Decrease height: Click here and select the module to be applied.
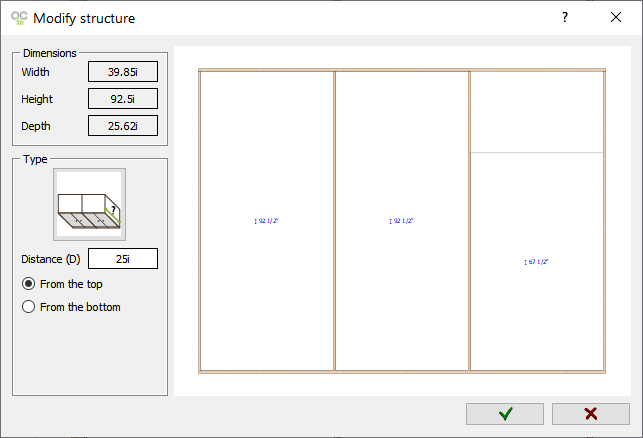
Introduce the height you want to decrease in the "Decrease height" section selecting forward or backward.

|
 Vertical Cut: Click this button, then select the closet module where you want to perform a vertical cut:
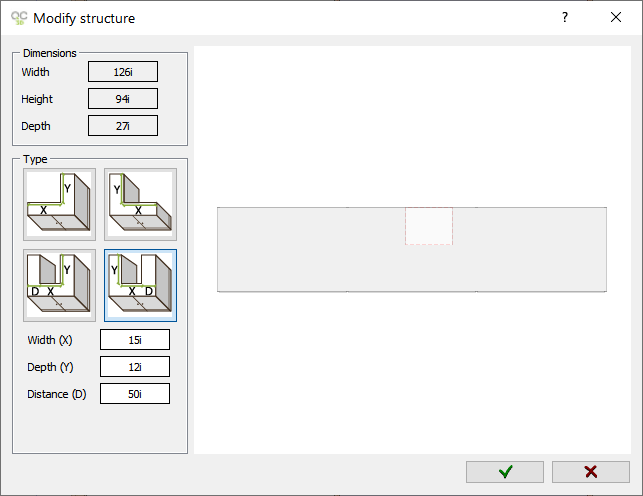
The cut can be located in one of the corners or away from the corners. Select the desired type of cut, then enter the corresponding values for X and Y (and distance if applicable) as shown in the graphics.
 Irregular Cut: Closets with no doors can have an “irregular cut” applied to their structure. After marking this option and selecting a no-door closet, the following window appears:
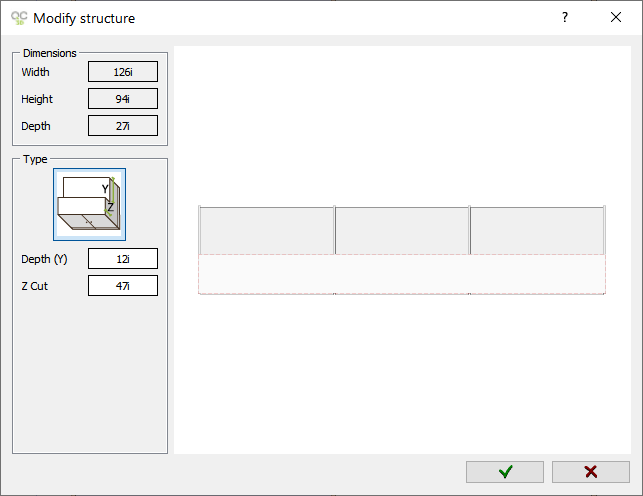
Click on the values in the "Irregular" window to enter the cut dimensions for "Y Cut" (depth) and "Z Cut" (height).
If you try to apply this "Irregular" cut to a closet with doors, the following window will appear indicating that it's not possible to apply this change:

NOTE: In all two wardrobe cut options available (vertical and irregular), if you try to modify a wardrobe that has already been cut, the following window appears warning that if you cut again you will lose the previous cut:

NOTE 2: In all two wardrobe cut options available (vertical and irregular), if you try to use them in a closet that has a "top shelf" (*see below), the following window appears, warning that it is not possible:

 Top Cabinet: This button allows you to create a top section on the closet, across modules. If this function is selected after having placed some inserts in the closet, the "Top Cabinet" function will delete the inserts. You will be warned before proceeding showing the window below:

Once you click on "Top Cabinet" and select the closet, you will see the window shown below:
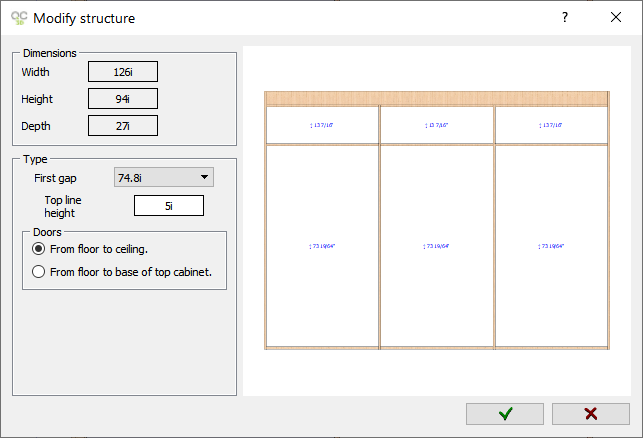
The first three sets of numbers are the main closet dimensions: Width, Height and Depth. Below them, under "Top Cabinet", you can see these entries:
- First Gap: To select the top cabinet height from the pull down menu of available dimensions.
- Top Line Height: To select the height of the "top section" of the "Top Cabinet".
In the next section below, "Doors", you can specify if the closet Doors cover the entire height of the closet or if they stop at the bottom of the Top Cabinet.
NOTE: If you try to add a "Top Cabinet" to a closet with a "vertical or horizontal cut", you will see the window below warning you that you will lose the closet cut:

ICONS MENU
When working on the "Structure", the Delete icon will become active.
|
|


