|
|
CHANGE 3D VIEW, ELEVATION |
Here you can load a predefined front view or define a new camera position to create a new 3D view. You can also change the view to floorplan.
When clicking on this option the image zooms in or out to fit the screen. If you are in 3D, the camera position changes to top view.
![]() (NOTE: In the "Visualization tool bar" in the bottom right corner you can find this button that works exactly the same. This button is accessible at any time without having to select a new tab.)
(NOTE: In the "Visualization tool bar" in the bottom right corner you can find this button that works exactly the same. This button is accessible at any time without having to select a new tab.)
When clicking on this icon, the camera faces North changing to a 3D front view.

When clicking on this icon, the camera faces South changing to a 3D front view.

When clicking on this icon, the camera faces West changing to a 3D front view.

When clicking on this icon, the camera faces East changing to a 3D front view.

The way to define a view using this tool is similar to the process of taking a picture in real life. It is necessary to determine the camera position and the point to look at.
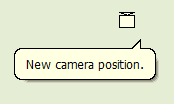
When you click on this icon, the program will automatically display the camera shape with the message "New camera position" waiting for you to select a point on the screen.

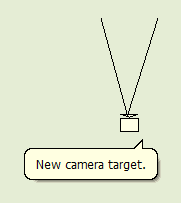
Click on the screen to select the camera position and hold the button while moving the mouse to the point to look at. Release the button to see the new view.

If you want to cancel the command, press "ESC" on the keyboard before releasing the button of the mouse.


