|
|
360º PANORAMA |
This option allows the generation of a panorama of the 360x180 type. In other words, a panorama of the entire room including the ceiling and the floor. To do so, the program will generate all the necessary information in six steps.
Once the project has been finished, in order to use this tool, you must previously create a "perspective" using the "Change 3D view" tool.
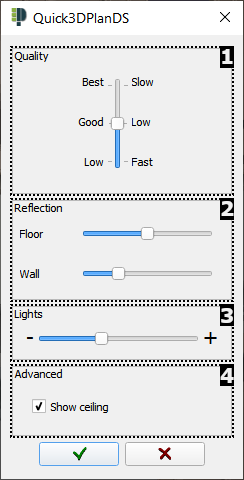
After pressing this option, the following window will be displayed, where the characteristics of the "Panorama" are configured:

The following options are available:
- Quality/Speed: In this section you can set the quality of the panorama between 3 options: Low, Good and Best. The higher the quality, the more time it will take to generate the panorama, and it may take several hours to generate a panorama at the highest quality. The power of the equipment also influences, in powerful last generation equipment the time necessary to generate the panorama will be much less.
- Reflection: Here you can increase or decrease the level of reflection on the floor and walls. (NOTE: The value of the reflection changes the light, especially on the walls and the floor. The more reflection, the more light.)
- Lights: In this section we control the lighting of the panorama. (NOTE: If the image looks good in the "3D View" but when the panorama is generated it is light or dark, it is easier to adjust the lights with this bar. When changing "Quality", it may also be necessary to readjust a little lights up with this option.)
- Advanced: In this section we can configure advanced aspects of the panorama, such as:
- Show ceiling: Checking this option will show the ceiling in the panorama.
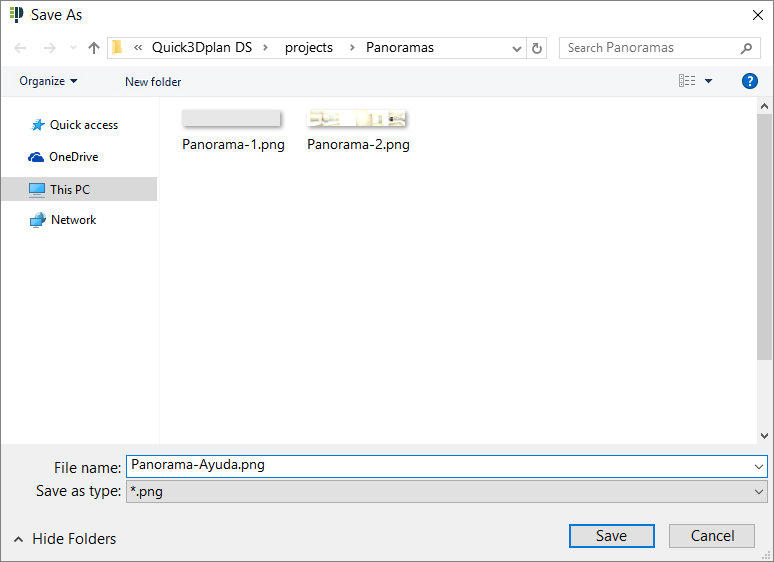
After clicking on the "OK" button, the following window is displayed to save the file (in PNG or JPG format) of your panorama:

Once the panorama is saved, the following "progress window" is displayed, indicating that Quick3DPlan® DS is generating it:

After finishing the panorama, the following window is displayed where you can move it in 360º by left clicking with the mouse, and without releasing it, moving it in the desired direction of movement. If you check the "Continuous" option, the movement of the panorama will not stop when you release the mouse:

NOTE: If you click on the "360º Panorama" button while in the "2D View", the following window is displayed indicating that a photorealistic panorama can only be made from the "3D View":

NOTE 2: By clicking on the option "360º Panorama" with the design in "multiple window", the following window is displayed where we indicate in which of them the panorama will be generated:

Clicking on this button displays the window with the last panorama:


