DOORS
The options to set the doors of the wardrobe are: type of doors, quantity, distribution, models and finishes.

First of all, you must select "Type of door". The options are "Sliding", "Swinging" and "No door". If you select "No door", the Distribution, Models and Finishes options will be deactivated.
Available options are:
|

|
Distribution: This option allows you to select the number of doors and their distribution. The options will depend on the door system (Sliding or Swinging).
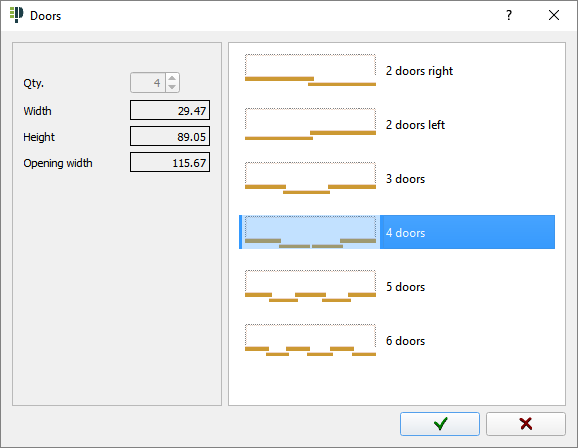
- Sliding: The following window will appear showing different combinations of available doors. After selecting and accepting the new distribution, changes will be applied in the preview located in the lower part of the wardrobe design screen:
- Swinging: The following window will appear showing different combinations of available doors. After selecting and accepting the new distribution, changes will be applied in the preview located in the lower part of the wardrobe design screen:
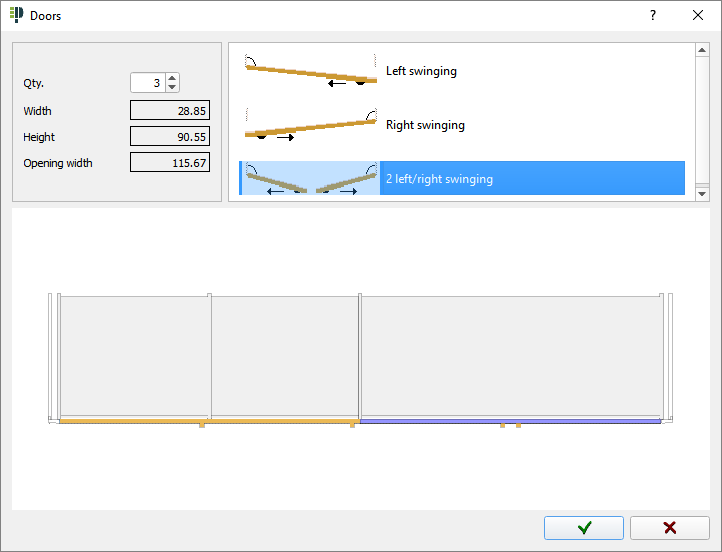
In this distribution the number of modules depends on the number of doors that the wardrobe will contain. When adding a new door, the preview of the wardrobe will update with a new module with the doors that you previously selected, as you can see in this sequence (a new module is added selecting "2 folding left/right"):
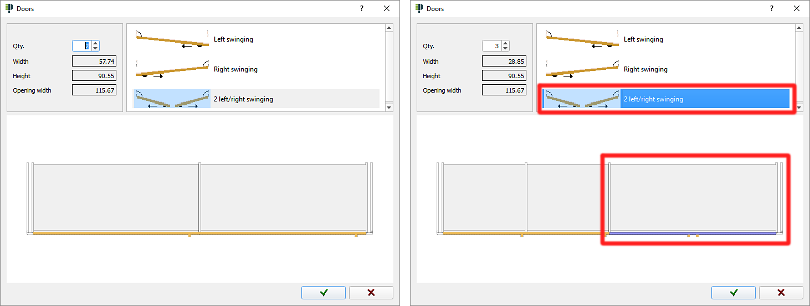
In order to change the door of any of the modules, you have to select the desired door by left clicking in the preview (1), and then choose the opening from available options in top list (2). You can see an example where door from the central module has been changed from a "Left swinging" to a "2 Swinging left/right" (NOTE: you can use the wheel mouse to amplify the wardrobe preview in order to select the door with more accuracy):

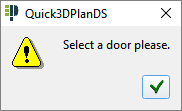
In case of no door being selected, the following window will appear:
|
|

|
Models: This option allows you to select the door model. By clicking on it, you are able to select the new model as the following windows shows up.
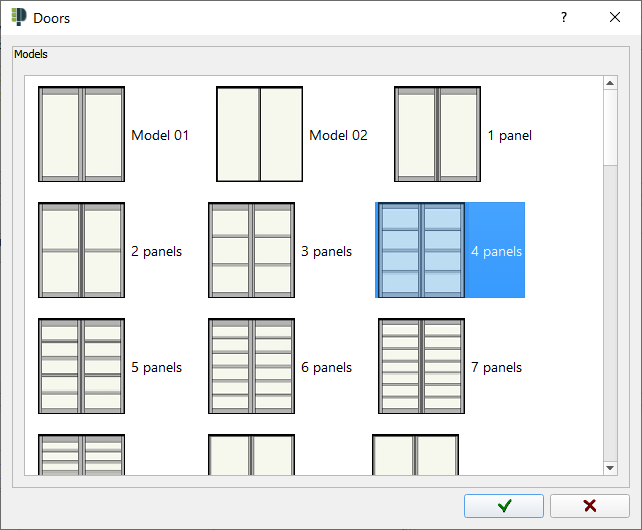
Commands to accept ( ) or cancel ( ) or cancel ( ) are located in the lower part of the window. ) are located in the lower part of the window.
|
|

|
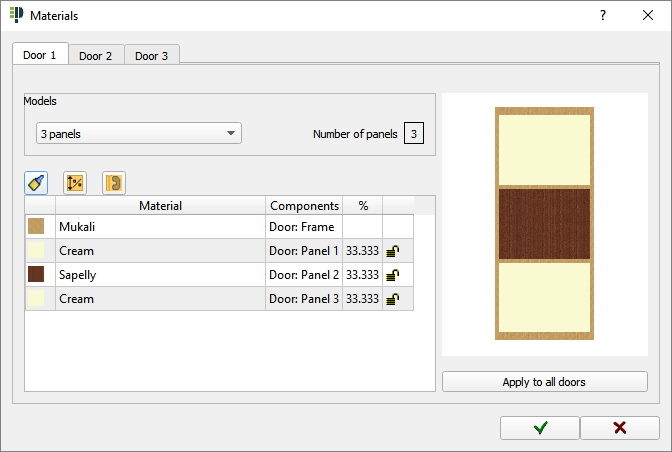
Finishes: This option allows you to assign materials to the different parts of the door. When clicking on this button, the following window appears:
|

|
- At the top you can find one tab per door. This allows you to change the finishes of each door independently.
|
|

|
- Below, in the "Models" box you can change the number of panels per door.
|
|
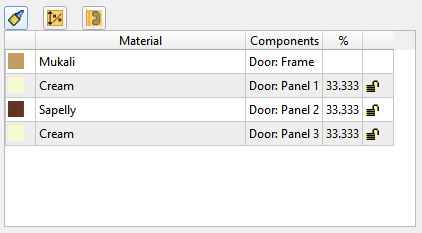
- A list shows the material of each panel and the percentage of door that is covered per panel. You can change these values by clicking on the following options:
|
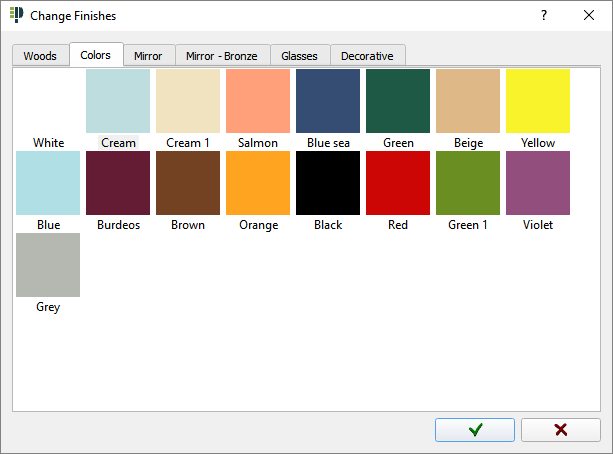
 Click here to select the material for each panel or for the door frame. Click here to select the material for each panel or for the door frame.
|
|
|
Click the "green check mark" ( ) to apply the changes, or ( ) to apply the changes, or ( ) to cancel. ) to cancel.
|
|
|
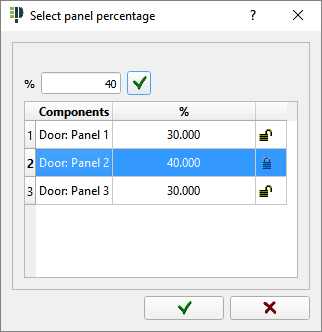
 If the door has more than one panel, you can use this button to change the percentage of door covered by the panel ("%"). If the door has more than one panel, you can use this button to change the percentage of door covered by the panel ("%").
|
 
|
When assigning an new percentage to a panel, this button will automatically lock. Not all panels can blocked. At least one must remain unlocked. Click the "green check mark" ( ), to apply the changes. ), to apply the changes.
To return to the original percentage of the panel, we can click on the unlock button.
|
|
|
 Click on this button to select the handle model and its materials. This option is not available for "sliding doors": Click on this button to select the handle model and its materials. This option is not available for "sliding doors":
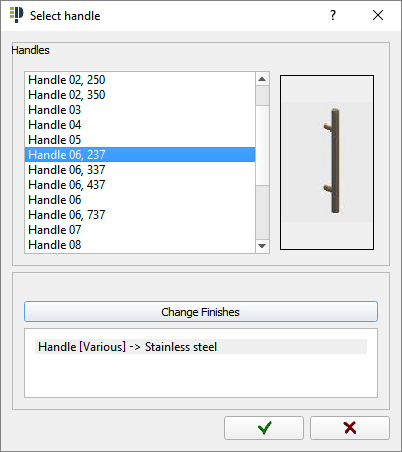
You can select the model of the handle and it's material. When you click on the button "Change Finishes" the following window will appear:
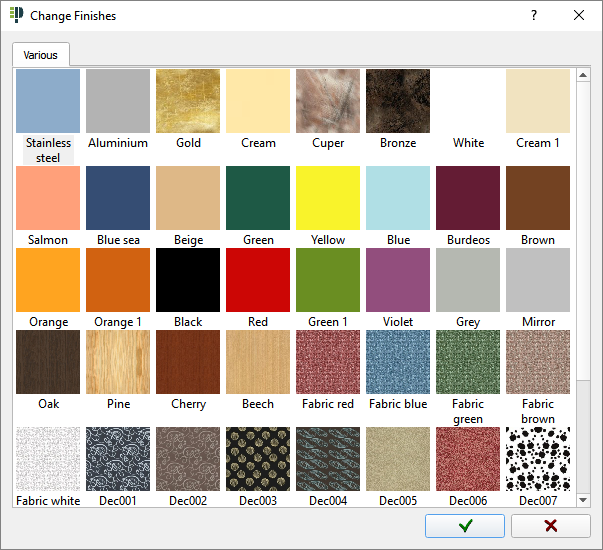
Select the new material, and click accept ( ). ).
|
|
|
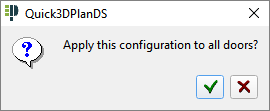
- If you want to apply the changes to all doors without having to change one by one, click the "Apply to all doors" button before validating the changes:

The following window will appear asking if you want to apply the changes:
|
|
- When we finish, we accept (
 ), and all changes will be saved. ), and all changes will be saved.
|
|


