STRUCTURE
Here are the options to define the wardrobe structure: number of modules, wardrobe measurements, finishes, etc.
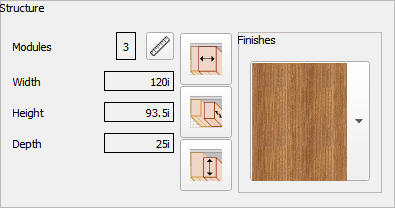
The available options are the following:
|

|
Measurements and modules: This option opens the following window to modify the number of modules as well as the wardrobe width, height and depth.
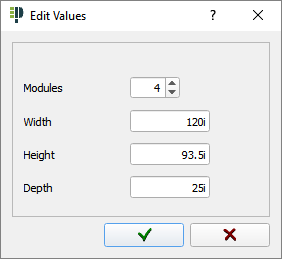
Points to consider:
- When choosing Swing doors, the number of modules will depend on the selected number of doors.
- When reducing the number of modules the following window will appear. Click on
 to accept changes or to accept changes or  to cancel: to cancel:

- Buttons to accept changes (
 ) or cancel ( ) or cancel ( ) are in the lower part of the window. By accepting it, changes will apply to the wardrobe interior preview. ) are in the lower part of the window. By accepting it, changes will apply to the wardrobe interior preview.
|
|

|
Modify width: This option allows modifying the width of a module (NOTE: procedure is similar for the "Reducing high" and "Reducing depth" options):
- Before selecting this option, click on the module you want to change in the wardrobe floorplan preview shown at the bottom of the wardrobe design window:

- Then, press this button and the following window will appear:
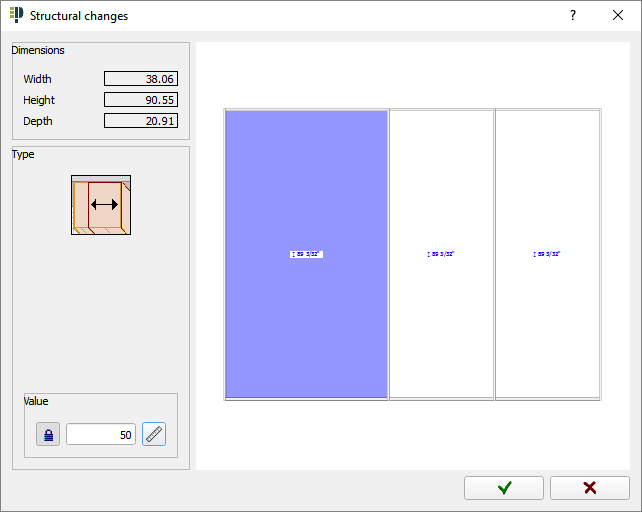
In order to change the module's width, introduce the new measure in the field "Value". Changes will apply in the wardrobe elevation preview, on the right side of the wardrobe design window.
  By changing the width value, the lock icon will change to locked. To return to the original state, just press the lock again. By changing the width value, the lock icon will change to locked. To return to the original state, just press the lock again.
 Click on the ruler to select from a list of predefined widths. The following window appear: Click on the ruler to select from a list of predefined widths. The following window appear:
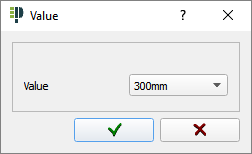
Points to consider when using "Modify width" option:
- If any module is selected, following window will appear suggesting to pick one up:
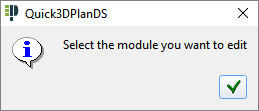
- When choosing "Swing doors" the following window will appear indicating that width of the modules can not be modified as they must adjust to the doors width:

- If width of every module has been changed except one, the following window will appear indicating that it is not possible to change the width because you must unlock the width of the other module (open lock):

|
|

|
Reduce high: This option allows you to modify the height of a selected module. After picking the module up in the preview of the wardrobe and clicking this button, the following window will appear:
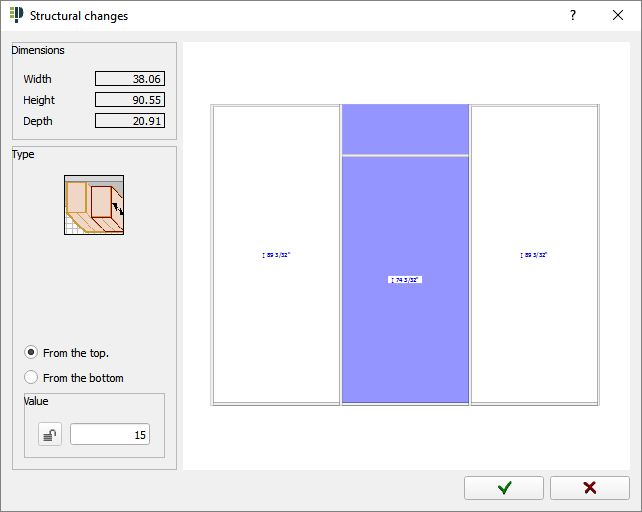
In order to modify the module's height, you are able to select if you want to modify "From the top" or "From the bottom", introduce measure you want to reduce the selected module in the field "Value" and changes will apply in the wardrobe preview, right side of the window.
|
|

|
Reduce depth: This option allows you to modify the depth of the selected module. As in the previous option, after selecting the desired module in the wardrobe preview and clicking this button, following window will appear:
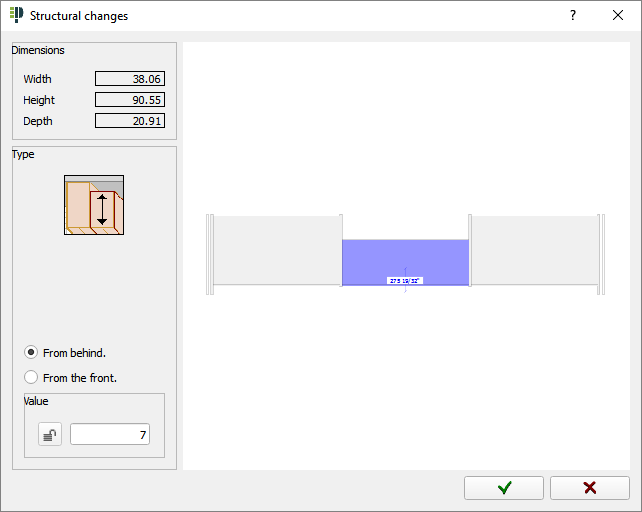
To change the depth of the module, select if you want to modify "From behind" or "From the front", introduce the measure in which you want depth be reduced in the field "Value" and changes will apply in the preview of the wardrobe, right side of the window.
|
|

|
Finishes: Allows you to modify the materials that will be applied to each part of the wardrobe structure: "Back panels", "Interior" and "Guide". By clicking this command, the next window will appear:
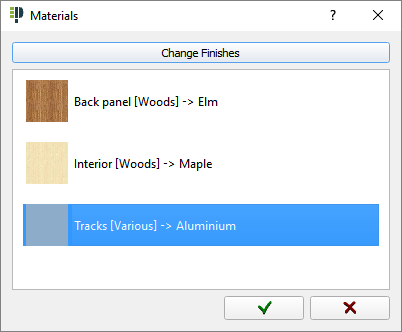
These are the available options:
|
 This command allows you to modify the materials of the selected part (Back panel, Interior, or Guide). After clicking on this button or by double-clicking on the selected part, a new window will appear to select the new material: This command allows you to modify the materials of the selected part (Back panel, Interior, or Guide). After clicking on this button or by double-clicking on the selected part, a new window will appear to select the new material:
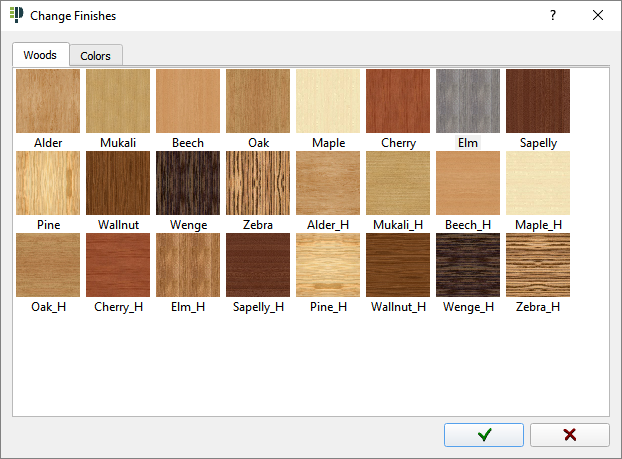
Depending on the selected element, you can apply some materials, colors or other.
By double-clicking on the material preview, a new window appears showing the material with more detail.
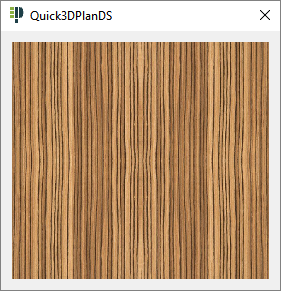
Click on the green check mark ( ) to validate the selection. ) to validate the selection.
|
|
 When you select a material for the "Interior", a message will appear asking if you want to apply the new material to all items placed inside the wardrobe (shelves, dividers, fillers...): When you select a material for the "Interior", a message will appear asking if you want to apply the new material to all items placed inside the wardrobe (shelves, dividers, fillers...):

Click on  to accept changes or to accept changes or  to cancel. to cancel.
|
|
 Close the window "Finishes" without making any change. Close the window "Finishes" without making any change.
|
|


