DISTRIBUTION
When you click on “Next” at the top-right of the screen, a new window opens up in which different elements of the interior such as shelves, drawers, doors, bars, accessories, etc, can be inserted.
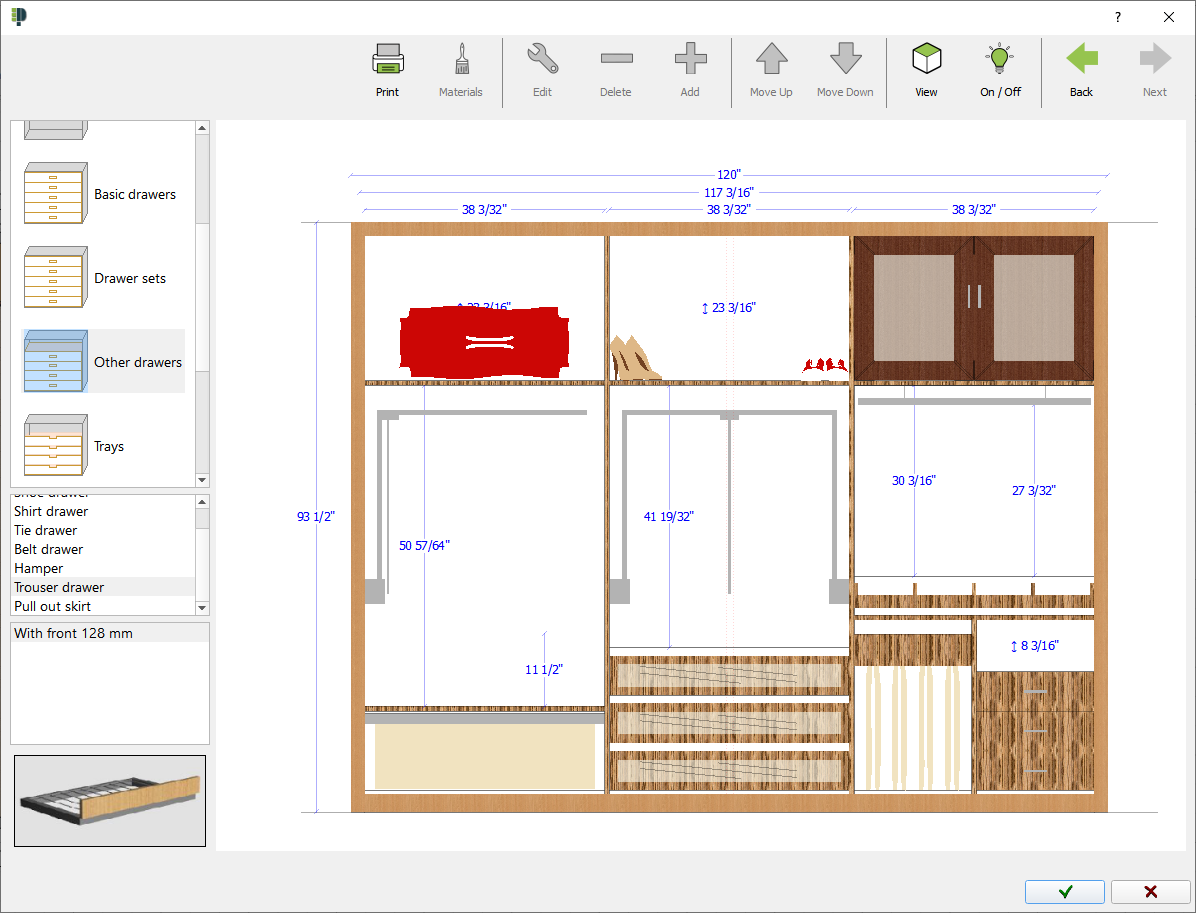
In the top of this window you will find different options from left to right:
|
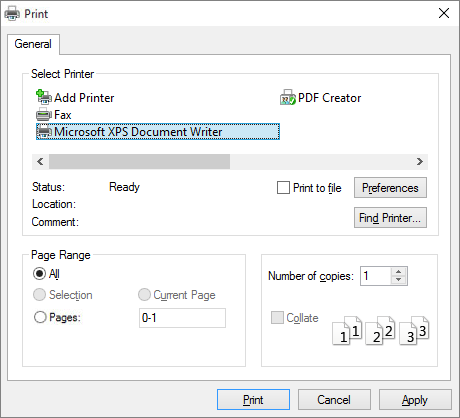
 Print: Allows you to print the current wardrobe preview. Here you will be able to select printer and number of copies. Print: Allows you to print the current wardrobe preview. Here you will be able to select printer and number of copies.
|
|
 Finishes: This command allows you to modify the material of a selected item. Click on this option after selecting an item (shelf, divider...) in the wardrobe preview: Finishes: This command allows you to modify the material of a selected item. Click on this option after selecting an item (shelf, divider...) in the wardrobe preview:
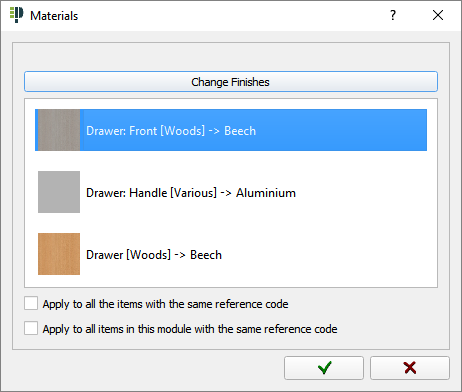
There is a list of elements whose materials can be modified. This example shows the parts of a "handle drawer". In order to change material, just select the element from the list and click on "Change finishes" or double-click on it. The following window appears showing available materials:
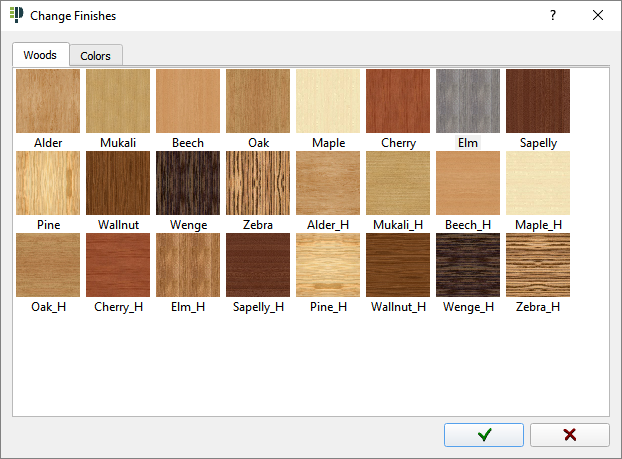
(NOTE: Available tabs of materials depends on the selected element).
If you double-click on any material, a window appears showing a magnified image enabling you to see it better.
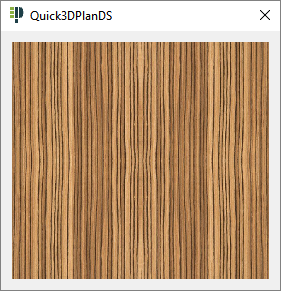
In the bottom of the window you can find two options that allows you to assign the same materials to all the elements of the wardrobe or just the selected module. The following window appears when selecting and accepting any of the two options:

|
|
 Edit: Click here to modify a selected item. Edit: Click here to modify a selected item.
|
|
 Delete: This command allows you to delete the selected item. Delete: This command allows you to delete the selected item.
|
|
 Add: Use this command to insert a new item in a module. First, select the item from the list. Then, click on "Add" (+) or just double-click on the module where the item has to be inserted. Add: Use this command to insert a new item in a module. First, select the item from the list. Then, click on "Add" (+) or just double-click on the module where the item has to be inserted.
|
|
 Move up: This command allows you to move a selected item upward. It is also possible to move an item by dragging it. Move up: This command allows you to move a selected item upward. It is also possible to move an item by dragging it.
|
|
 Move down: This command allows you to move a selected element downward. Move down: This command allows you to move a selected element downward.
|
|
 View: This command changes the view from "Front view" to "Floor plan". View: This command changes the view from "Front view" to "Floor plan".
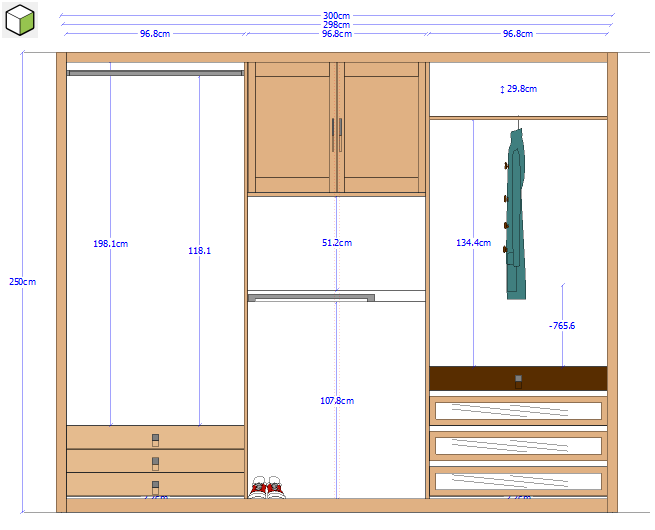

|
|
 On / Off: Use this button to show or hide the different parts of the wardrobe: On / Off: Use this button to show or hide the different parts of the wardrobe:
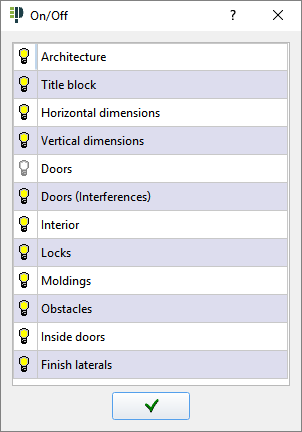
  You can activate and deactivate elements by clicking on each line. The lines with a lighted lamp belong to visible elements that "turn off" (invisible elements) when clicking on them. You can activate and deactivate elements by clicking on each line. The lines with a lighted lamp belong to visible elements that "turn off" (invisible elements) when clicking on them.
|


